Saturday, January 3, 2015

2015 New Year Resolution

Make Me Pretty!

Old quilt tops speak to me.  I buy them as easily as I buy fabric to sew my own quilt tops with.  The words that flow into my head when I see a top vary, but nonetheless I am compelled to buy it.  I feel they have the voices of the makers speaking through them.  Many of the tops I have gathered are from estate sales, the unfinished works of someone’s love of quilting sold on eBay or at antique shops.  Unfinished works from days gone by that say to me; Make me pretty!

I want to make them shine! I want to feel like the person who made this quilt is poking their best friend in the arm when I finish each one and say with clapping hands, “I knew someone would find that worth finishing.”  Over the years I have quilted a lot of quilts I endearingly call ‘rescues’.  I have many hanging in my studio.  4 tubs of them under a table that go on tour with me when someone wants a dog and pony show about quilts and many more have found homes with various people who love old things as much as I do.

My New Year’s resolution this year is to try to finish the tops I have in my showcase.  I also want to work in the tops of mine that I am constantly piecing.  I try to schedule time on my quilt calendar to do my own stuff, but things happen and I fall behind.  Last year was heath issues that made walking difficult and keeping up with my client’s quilts was my top priority.  I did a fine job getting everything done. The only glitch was the 2 week Christmas vacation I had scheduled for myself and intended to do my own quilting got sucked up by a customer quilt that the maker did not understand that a 100” x 100” custom quilt could not be done in 2 of 4 days she had scheduled to do 3 quilts in and I graciously said I would do it on my 2 weeks off, never realizing it would eat up 10 of my 14 days. Imagine a giant sigh escaping my lips.
Make me Pretty 

I finished her quilt and still had a few days to relax.  I opened up a box of tops I have waiting and pulled out this gem of a quilt.  It is 68” x 74” unbordered  9 -patch blocks set with squares of off white muslin. Some of the blocks are hand-pieced, all of the fabric is old, probably from the late 30’s. This is a charming quilt that spoke almost out loud Make Me Pretty! The muslin is coarsely woven but sturdy, perfect to showcase quilting stitches.
Someone besides me is happy about this outcome

even the back is pretty!

found perfect fabric for binding in stash!

In the back of my mind is more of a plan about what I want these quilts to do when finished, but I will save that plan for a day when I realize I can actually quilt for my clients, go to physical therapy twice a week to keep on walking AND finish up the ginormous number of quilts I have stashed in all the nooks and crannies.  I am not getting any younger!
sampling of feed sack, old 30's green and fabrics we see today as reproductions

Friday, September 26, 2014

It is what it is!

Every Quilt Should Have a Story

I frequently get advertisements in the mail soliciting quilt magazines.  I rarely succumb to the temptation for more magazines.  I have a plethora of patterns and really don’t need the reminder every couple of months that I haven’t accomplished making all the quilts from all the patterns I already have.  I think magazines get repetitive and I’m seeing the same stuff over and over and well, you get the picture.  Tossing the solicitation is usually my answer. 
I opened one recently and there is a free pattern I have seen and tossed before but for some reason it struck my fancy this time and I put it in a clear sleeve and filed it in the ‘to do’ basket by my sewing machine. 

I think it really appealed to me because it is red and yellow and I was toying with making a red and yellow quilt but I just hadn’t settled on a pattern.  I had, I thought, the perfect red to tie red and yellow together.  Of course I was wrong.  That perfect fabric ended up on the back.  It apparently was perfect for the back.  Tweaking is my motto for quilt assembly.  If at first you don’t like what you see, go back to the stash and look for something else!

I love 9 patch blocks. They are simple and have so much potential
I happened to have a white men’s shirt my niece gave me because her husband wears out the elbow of his sleeve and I get the ruined shirts for my stash.  I cut it into 2 ½” squares and dug through the cupboard for all my rich reds.

My original plan was to use lots of different yellows for the yellow in this quilt and this wonderful red fabric with yellow circles for the red squares. That ‘perfect’ fabric I planned this around didn’t read as red, it was half red and half yellow and it ended up rejected.  Instead of one color for the red, I chose one color for the yellow.  I had a beautiful rich plaid that worked. The scrappy red makes the quilt sing.  I love the result.  If I had been thinking, I would have made it one row longer and it would have fit a twin.  It is what it is and I love it!

Bill's white shirt

Sunday, June 8, 2014

Scrappy Spinner

With just a little extra effort…

I found a block I liked in the Ladies Art Company Block Tool, Mosaic no. 18, which I decided to adapt to a technique I learned from Bonnie Hunter.  The units for the block are parallelograms that are easily made with a rectangle and two squares.  The squares get a diagonal line marked from point to point with a mechanical pencil and if the little extra effort is made to mark another line 3/8” from the first, you can sew both seams, cut down the middle of the two seams and have a bonus half square triangle.

2 diagonal lines drawn on each square with mechanical pencil

The size of the quilt the Scrappy Spinner blocks will make netted me over 1000 bonus blocks that are 2” unfinished,  and can be used in another project.  


I knew from a class I took with Bonnie about adding the second line and the bonus blocks from that class, Pineapple Blossom, were used in the border of that quilt. What I didn’t realize was how useful the little bonus half square triangle could be because it combines well with a 2” piece of fabric. In my short sightedness, I have never really used a pattern that had 2” strips as the size to work with because I had 2 ½” strips available by the gazillions.


Recently I was gifted a box of scraps that when combined with the tub of scraps I already had waiting to be utilized became TWO tubs of scraps.  I promptly bought a Go Cutter and Laura has been working her way through the scraps, one color at a time, cutting them into useful things.  The most useful things at the moment are 2 ½” x 4 ½” rectangles and 2 ½” squares.  Emily has been cutting what won’t work on the two die sizes into strips that are 1 ½” or 2” or into squares of the same size.  All are getting sorted, stacked, organized and thought about.  Some are even getting used!

Because I was excited to start this project and the only two colors that had been cut up were the red and green, I decided I was making a red and green scrappy quilt.  The sample block I made looked pretty cool, but blah, so I made another sample and on one end of the red rectangles, I sewed yellow on the diagonal which as a block will become little yellow pinwheels set off by the red.  The green units will go beside the red units, but all other diagonal pieces were just random scrappy colors that were NOT red, green or yellow. 
red units with yellow for corner

chain piecing squares to rectangles
Red units done, green waiting patiently


Today’s little teaser is seeing the quilt pieces in a box

all units ready and waiting!
…all red and green units are ready for me to pair them, sew them into units that will then be made into blocks from 4 pairs of red and green units; 63 blocks in all.  I am still blown away by the number of bonus half square triangles.  

bag of bonus blocks waiting to be pressed
Stay tuned!

Sunday, April 27, 2014

Spring will come...

Sunday afternoon


This morning Tom and I decided on a tree to move a new birdhouse to.  It had been hung too low last fall, and facing east getting full sun for too long and it had not been a ‘home of interest’ to the locals feeding here all winter.

small bird condo

The wren builds a nest next to the air conditioner in my studio window every year.  Most times it is on the east side of the a/c and some years it is on the west side.  I checked this morning and it is on the west side for a change. The window faces north so is always in the shade.  I feel guilty using the a/c before the birds fledge figuring I will scar them for life with the noise, but I get hot and my machine gets crankier than I do when it gets too warm in here, so I do not hesitate to run it when the need arises. The way the weather has been acting this spring, it may never  need to be run this year and a whole generation or two of wrens may grow up in the relative quiet of 61 bird heaven.

The birdhouse that got moved my sister bought last year from a gentleman in Peninsula.  As I recall, she had to come home for her wallet and someone else wanted the double birdhouse but the seller knew Joanne was coming back so he declined to sell to the ‘sure sale’ standing in front of him.  It is an interesting piece of folk art made from barn wood and slate.  It has two levels and hangs from a chain.  The tree we moved it to has a convenient stump of a branch which Tom hung it from.  Hopefully it will get some attention now that it no longer faces east to get the full sun.

Since I had the camera out I walked around the yard taking pictures of the other houses we have.  The brown one is being ignored.  I saw a chickadee check it out a few weeks ago but no takers.  Maybe where it hangs seems too trafficked since the bird feeders have hung here all winter under the oak.

little brown house...too close to feeders?

pottery wren house,unused for a few years

In the back yard I have a blue one that was not being used because it was full of twigs from previous years.  I see upon taking a pair of tweezers to pull all the stuffing out that it must have been a popular abode.  It was a stupid build, though.  There is no way to open it to remove the leavings so after a couple of years there was no room for babies. 

poorly designed, but nice slate roof!

I hung a turned wood birdhouse I bought at a craft show several years ago.  I had kept it in the house because it is so lovely, but it was built to be used.  The maker attached the top with two tiny nails that easily can be pulled so the insides can be cleaned each year.

Lathe turned

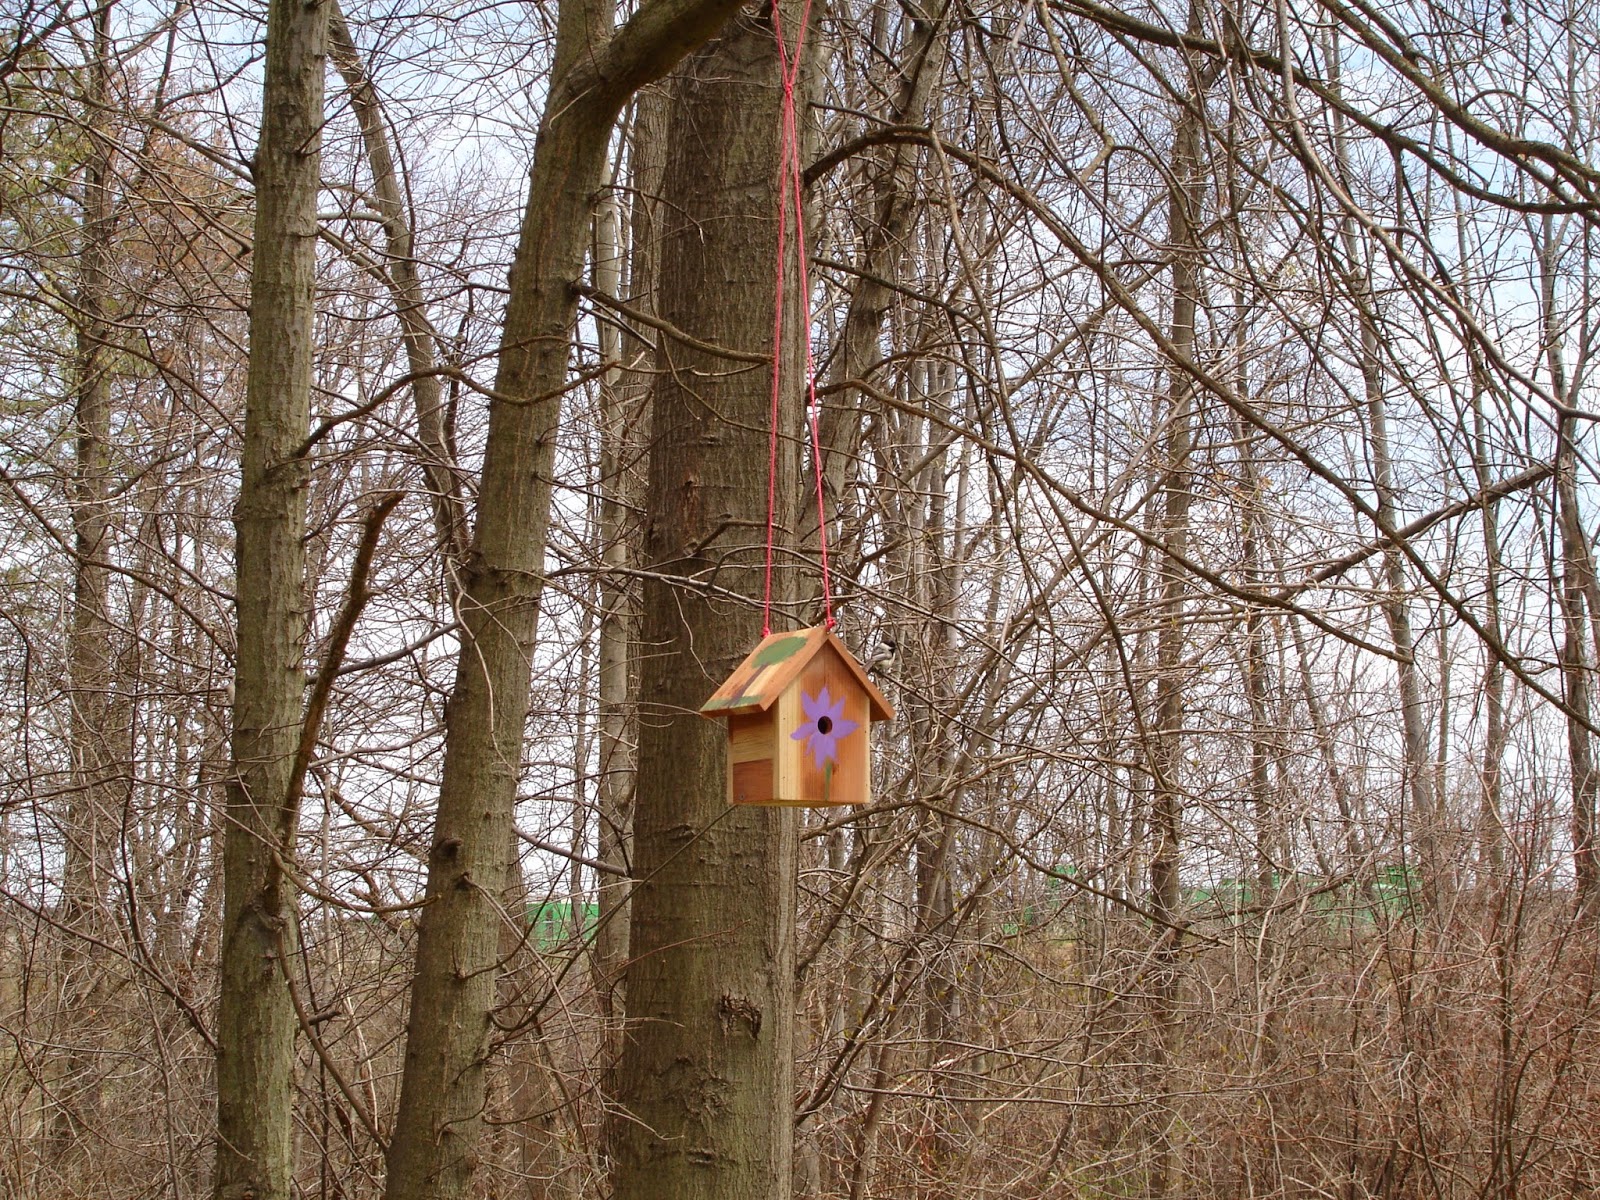
Last spring Tom and Laura spent many hours when Laura got home from school making bird houses for me.  Some were used as gifts and finally this year Tom hung one.  Before the morning was over I saw a Chickadee checking it out.  You can almost see him just above and to the right of the house.

3 houses for small birds

3 blue bird houses

Tom decided to plow the garden to plant asparagus before the rains come.  It is supposed to rain for days starting tomorrow.  I bought 3 year old plants so next year we get to eat what grows.